
The picture below shows the newly created cockpit hatch hole with water channel, the reinforced deck lid to the left, and the newly fabricated fiberglass fish box sitting down in the bilge. The fish box will eventually drop down onto support "feet" or landing pads which keep the base from moving around while keeping the top of the box flush with the inside of the water channel.
We built the box by making a form for it out of 2x4 lumber and lightweight press board, only a few steps more sturdy than cardboard. The box is tapered toward the bottom so that we could get it out of the mold easier but we didn't use enough PVA (Poly Vinyl Alcohol) for mold release and we eventually had to grind the press board mold away to get the box out.
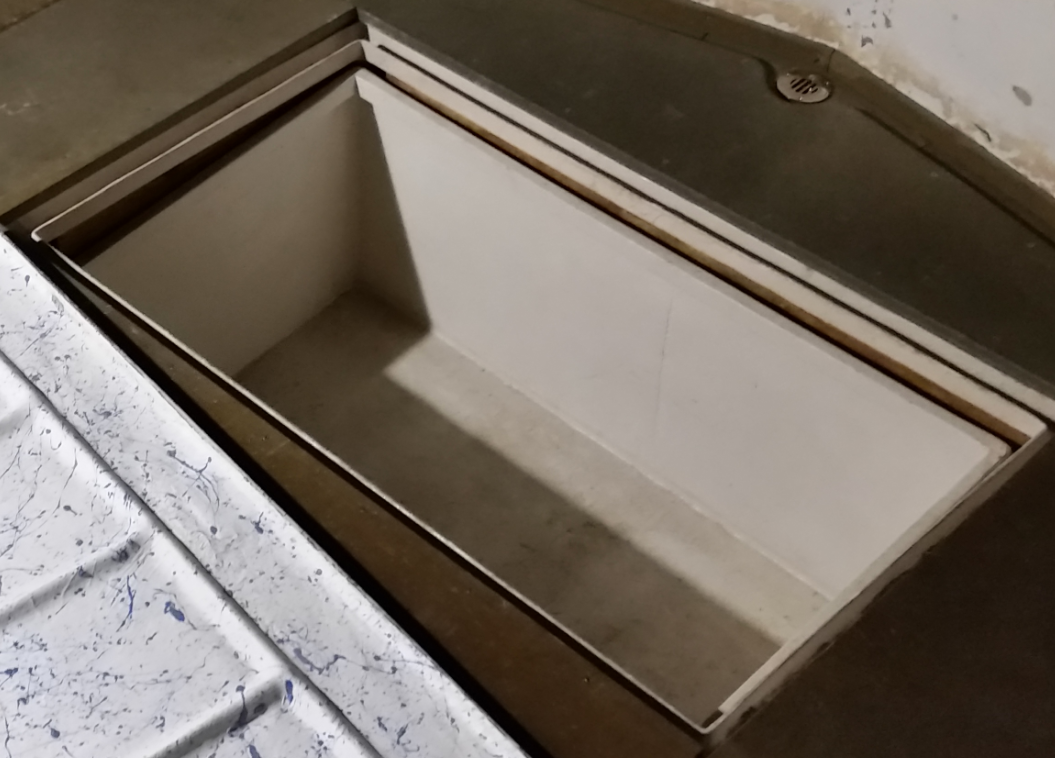
When the box is not in place the hatch allows good access to the bilge space under the cockpit sole.

So at this point we had a sturdy fish box but it had no insulation and we decided that we might have to
keep ice from melting in it for a long time. So we then considered
how to add insulation after the fact. We again used the same medical grade glass infused foam material that we had made the cockpit console from.

We had some pieces that were already nice and thin - 3/4" thick, so we cut those up and glued them to the inside of the box as shown.

After covering the interior walls and bottom with this foam, we glassed in all in place.

Here's another angle.

We then sanded and faired it before hitting it with an other few heavy coats of gel coat. Finally, and this is not shown, we added rope handles to the ends to make lifting and carrying easier.

No comments:
Post a Comment